
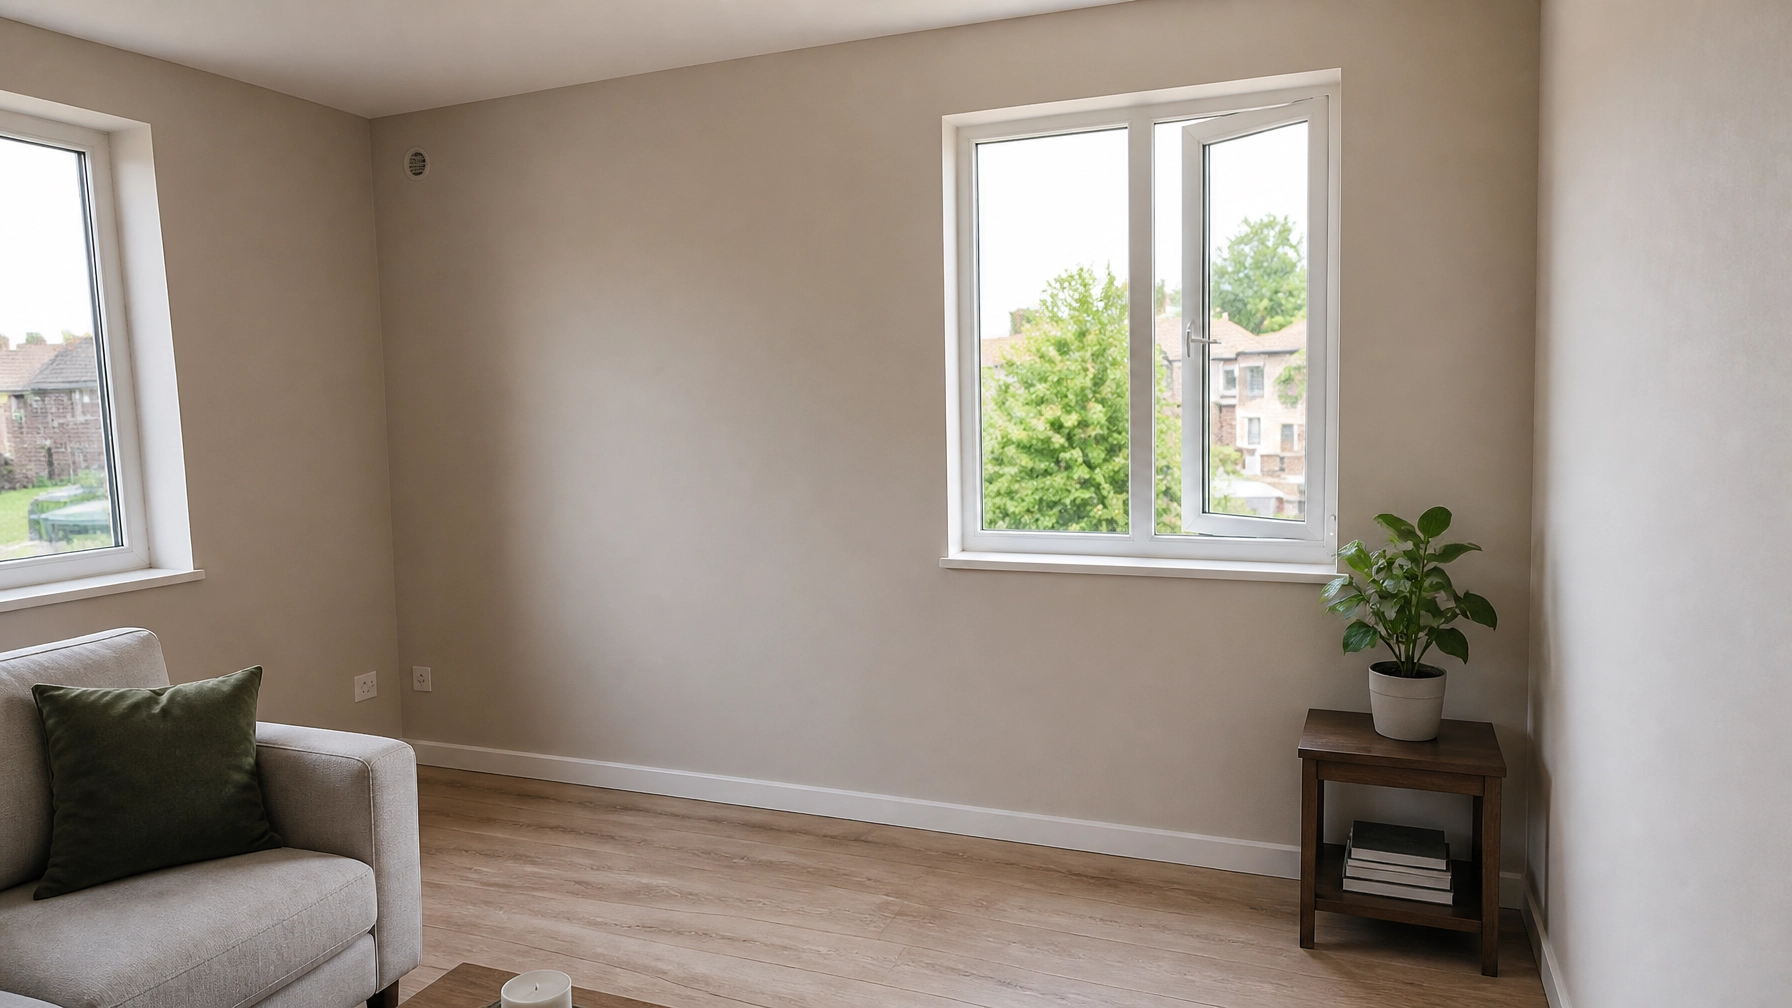
There is nothing quite like the sight of freshly skimmed walls. Whether you’ve just finished a renovation in Gosforth, updated your lounge in Jesmond, or finally installed that bespoke media wall in Ponteland, those smooth, pink-hued surfaces are the ultimate "blank canvas."
However, the excitement can quickly turn to frustration if you start noticing small lines appearing. You might be wondering: Did I do something wrong? Is the house falling down? Or is the plaster just settling?
At MSP Plastering Solutions, we’ve seen it all in our 25+ years of providing professional plastering services from our Newcastle headquarters. While some hairline cracks are a natural part of the drying process, others can signal underlying issues. In this guide, we’ll break down why plaster cracks, how to prevent it, and exactly how to fix it if the damage is already done.
1. Drying Too Fast (The "Heatwave" Effect)
The most common cause of "crazing": a network of fine, shallow cracks: is plaster drying too quickly. When the moisture is sucked out of the plaster before it has a chance to bond and set properly, it shrinks rapidly and cracks.
- The Culprit: Turning the central heating up to full blast immediately after the plasterer leaves, or working in a room with strong direct sunlight and heavy drafts.
- The Fix: Keep the heating on a low, consistent setting and avoid using fan heaters directly on the walls. If you're in a sunny spot in Whitley Bay or Tynemouth, draw the blinds to keep the room cool while the plaster cures naturally.
2. Structural Movement and Settling
Buildings are living things: they expand, contract, and settle into the ground. If you’ve recently added an extension or carried out major structural work in Darras Hall or Great Park, the building may still be "finding its feet."
- The Culprit: Natural settlement of the foundations or the drying out of new timber joists.
- The Fix: For minor settlement cracks, a bit of flexible filler is usually enough. If the cracks are wider than 3mm or appear diagonally above doors and windows, it’s worth having a professional assessment.
3. Missing or Poorly Applied Scrim Tape
When we install plasterboarding for walls or ceilings, there are always joints where the boards meet. To prevent these joints from moving and cracking the plaster above, we use a reinforced fiberglass mesh known as scrim tape.
- The Culprit: Skipping the tape or using cheap, low-quality mesh that doesn't bridge the gap effectively.
- The Fix: This is a "do it right first time" situation. If a crack follows a perfectly straight line along a board joint, the tape is likely missing or failed. The only real fix is to rake it out, apply new tape, and re-skim the area.

4. Improper Mixing Ratios
Plastering is as much a science as it is an art. The ratio of water to plaster powder must be exact.
- The Culprit: If the mix is too "thin" (too much water), the plaster becomes weak and prone to shrinkage. If it’s too thick, it won't bond correctly to the substrate.
- The Fix: This highlights the importance of hiring a fully qualified team. At MSP, we ensure every mix is consistent, using clean water and professional-grade materials for a flawless finish.
5. Lack of Bonding Agent (The PVA Problem)
Plaster needs something to "grip" onto. If you’re skimming over an old, dusty, or highly porous wall in a Victorian terrace in Heaton or High Heaton, the wall will literally "suck" the moisture out of the new plaster.
- The Culprit: Failing to apply a bonding agent (like PVA or Blue Grit) to prime the surface before plastering.
- The Fix: If the plaster is "blown" (sounds hollow when you tap it) and cracking, it hasn't bonded. You’ll need to remove the loose section, prime the wall properly, and patch it in.
6. Application Thickness
There is a "sweet spot" for plaster thickness. If it’s applied too thin, it doesn't have the structural integrity to hold; if it’s too thick in one go, it becomes heavy and prone to sagging or cracking.
- The Culprit: Trying to level out a very wonky wall with one massive coat of plaster instead of multiple thin layers.
- The Fix: Professional skimming usually involves two tight coats. For deeper holes, we use a "bonding" undercoat first to build up the surface before the final skim.
7. High Humidity and Leaks
While drying too fast is bad, staying wet for too long is also a problem.
- The Culprit: A slow leak from a bathroom above or extreme humidity in a poorly ventilated kitchen can cause the plaster to soften and crack.
- The Fix: You must fix the source of the moisture first. Once the area is bone dry, the damaged plaster can be cut out and replaced.
8. Incompatible Substrates
Not all materials play well together. Applying a modern gypsum plaster over a very old lime-based wall without the right preparation can lead to chemical reactions or adhesion failure.
- The Culprit: Mixing old-school building methods with modern materials without a "bridge" (like a specialized primer).
- The Fix: We assess every wall before we start. In older properties across Newcastle upon Tyne, we choose the specific bonding agents needed to ensure the old and new surfaces stay joined forever.
9. Vibration and External Shock
Sometimes the cause isn't in the wall, but outside it.
- The Culprit: Heavy traffic, nearby construction work, or even slamming doors can cause enough vibration to trigger cracks in fresh, brittle plaster.
- The Fix: While you can’t stop the roadworks in Kingston Park, you can use flexible decorators' caulk for minor cracks in corners to allow for a small amount of "give."
10. Blown Plaster (Delamination)
"Blown" plaster is when the new layer completely detaches from the one underneath.
- The Culprit: This is usually due to a combination of poor preparation, dust, or dampness behind the plaster.
- The Fix: You can tell if plaster is blown by tapping it; it will sound like a drum. The only solution is to remove the affected area and start again.

How We Ensure a Crack-Free Finish at MSP Plastering Solutions
We know that a "stunning" finish is only half the job: it has to last. With over 50 verified 5-star reviews, our reputation in Newcastle is built on quality. Here is how we prevent cracks on every project:
- Meticulous Prep: We don't just "slap it on." We clean, prime, and bond every surface to ensure maximum adhesion.
- Expert Boarding: For our bespoke media walls, we use the correct screw spacing and high-quality scrim tape on every single joint.
- Cleanliness Matters: Dust is the enemy of a good bond. We are exceptionally clean and tidy, ensuring the workspace is vacuumed and prepped before the first trowel hits the wall.
- 25+ Years Experience: We’ve worked on everything from new builds in Great Park to renovations in Killingworth. We know exactly how different houses "behave" and adjust our techniques accordingly.
The Step-by-Step DIY Fix for Hairline Cracks
If you have a few tiny, stable hairline cracks, don't worry: you can easily fix these before you paint.
- Rake it out: Use the edge of a filling knife to slightly widen the crack into a 'V' shape. This gives the filler more surface area to stick to.
- Dust it off: Use a brush or vacuum to remove all loose debris.
- Fill it: Use a high-quality, lightweight filler. Press it firmly into the crack and leave it slightly proud of the surface.
- Sand it: Once dry, use fine-grit sandpaper (180+) to sand it flush with the wall.
- Mist Coat: Before your final paint, apply a "mist coat" (diluted emulsion) to the patch so it doesn't soak up the paint differently than the rest of the wall.

Summary: When to Call the Pros
Most small cracks are just a part of a house "breathing." However, if you are seeing large, recurring cracks, or if your plaster is falling off the wall, it’s time to call in the experts.
Whether you need a single room skimming in Gosforth or a full home renovation in Ponteland, we provide competitive pricing with unmatched quality.
Ready for a flawless finish? Get in touch with MSP Plastering Solutions today for a free, no-obligation quote. Let’s make your home look spectacular!
Frequently Asked Questions
How long should I wait before painting new plaster?
You should wait until the plaster has turned from a dark pink/brown to a uniform light pink. Usually, this takes 3 to 7 days depending on the weather and ventilation. Always start with a "mist coat" (thinned down paint) first!
Is it normal for plaster to crack on a new media wall?
Small hairline cracks around the edges of a media wall can happen due to the heat from an electric fireplace or the weight of the TV. Using flexible caulk in the corners usually solves this.
Why does my ceiling have straight cracks?
If the cracks are perfectly straight, they are likely following the joints of the plasterboards. This usually means the boards are moving slightly or the joint tape has failed.
Can I just paint over cracks?
No. If you just paint over a crack, it will reappear almost immediately. You must fill and sand the crack properly first.
Do you offer plastering services in Tynemouth?
Yes! We cover the entire North East, including Tynemouth, Whitley Bay, Jesmond, Gosforth, and Darras Hall.
More From MSP
More from our blog
Related Posts

When you are planning a renovation in Newcastle upon Tyne [...]

Gosforth is home to some of the most stunning properties [...]

Renovating a property in Tynemouth is a unique experience. Whether [...]
